Getting Started
Introduction to Clockbook
Clockbook is the only 100% free time tracking software on the market. It's so simple that you and your team can track work time with one click.

Time Tracker
Everything in Clockbook revolves around time entries. You track time you spend working on things and then analyze workweeks in reports. Clockbook also lets you invite others so you can track and analyze time together.
There are two ways you can create time entries in Clockbook:
-
Automatically, while you work
When you start working, type what you're working on and start a timer; when you finish, stop the timer and the time entry gets added automatically to your timesheet.
-
Manually, after you've finished working
If you don't want to bother with the timer (or you forgot to start it), you can manually add all the time entries at the end of your day. Simply type what you worked on, choose start and end time, and add the time entry.
Time entries are more useful once you categorize them. Add a client, project, task, billability status, and custom tags to each time entry so you can better analyze your time (before they're available for selecting in the Time Tracker, you first have to define clients and tags in your workspace settings and create projects and tasks in Projects).
![]()
Timesheet
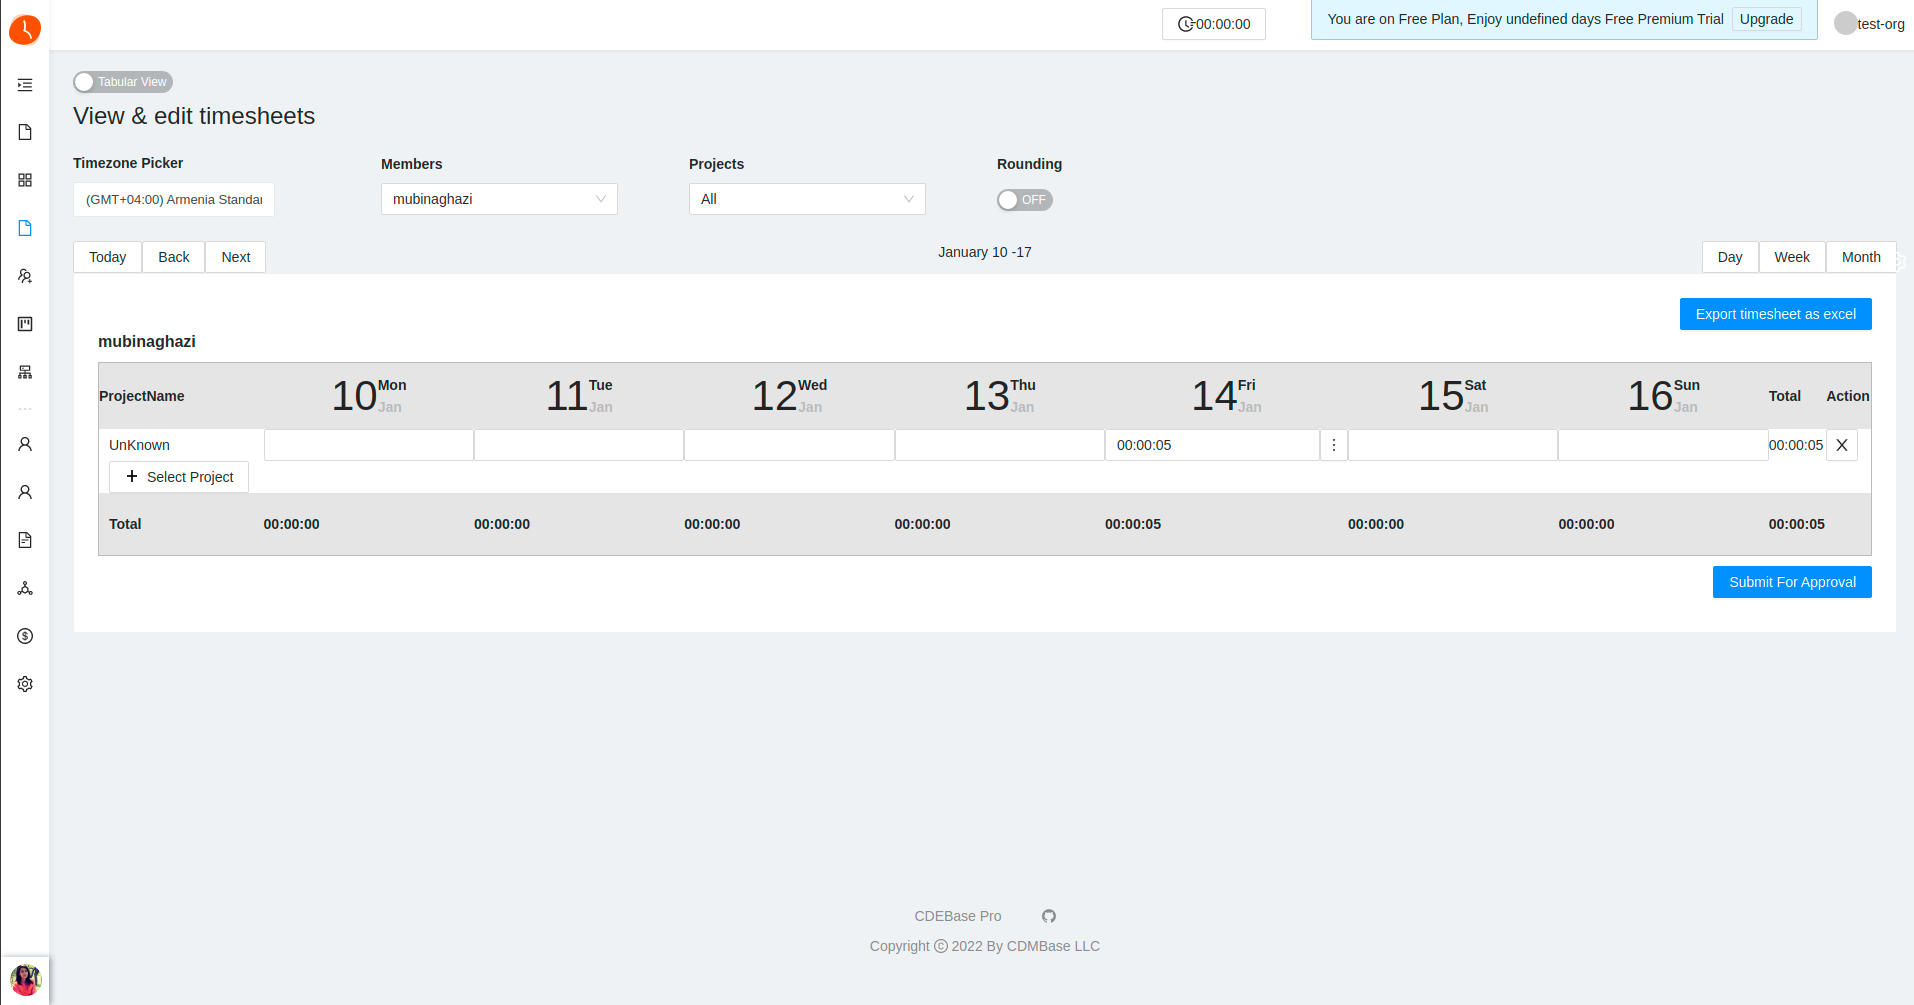
Log time manually via Timesheet (you first have to enable it in Settings).

Dashboard
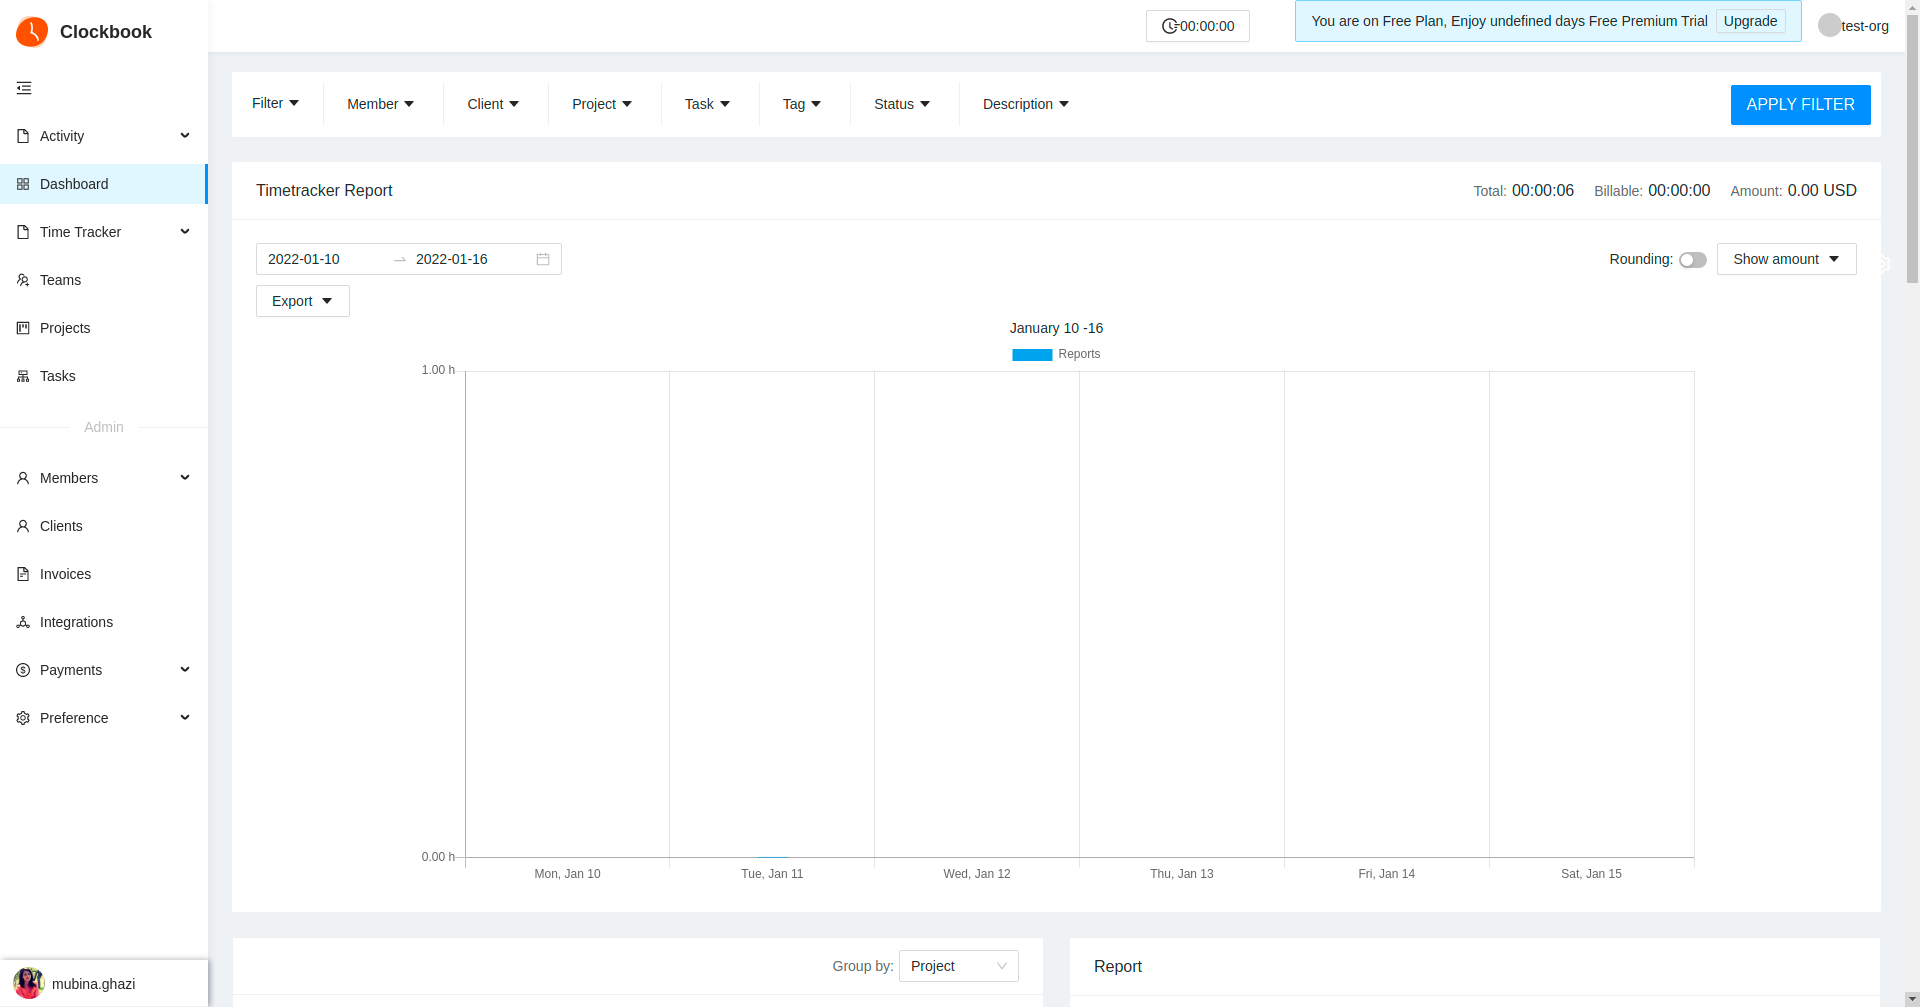
Once you have added some time entries, you can visit Dashboard to see how productive you are. Dashboard shows you at a glance how much time you've tracked each day and where you spent most of your time.
Reports
There are three types of reports in Clockbook:
- Summary report is your standard report where you can filter all time entries and get the data you need.
- Detailed report is for when you want to directly edit time entries you've filtered.
- Weekly report is for seeing who tracked how much time each week.
Projects
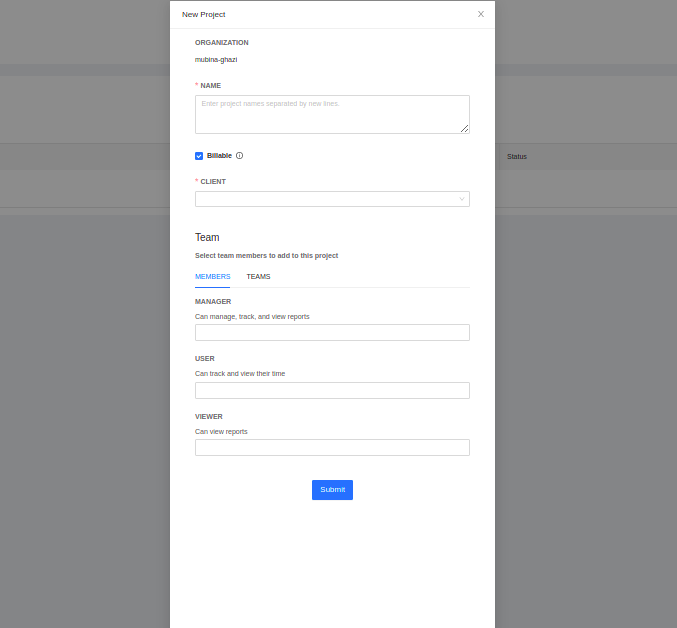
Projects section is where you can set up projects, tasks, and assignees, and estimate and track project progress.

Team
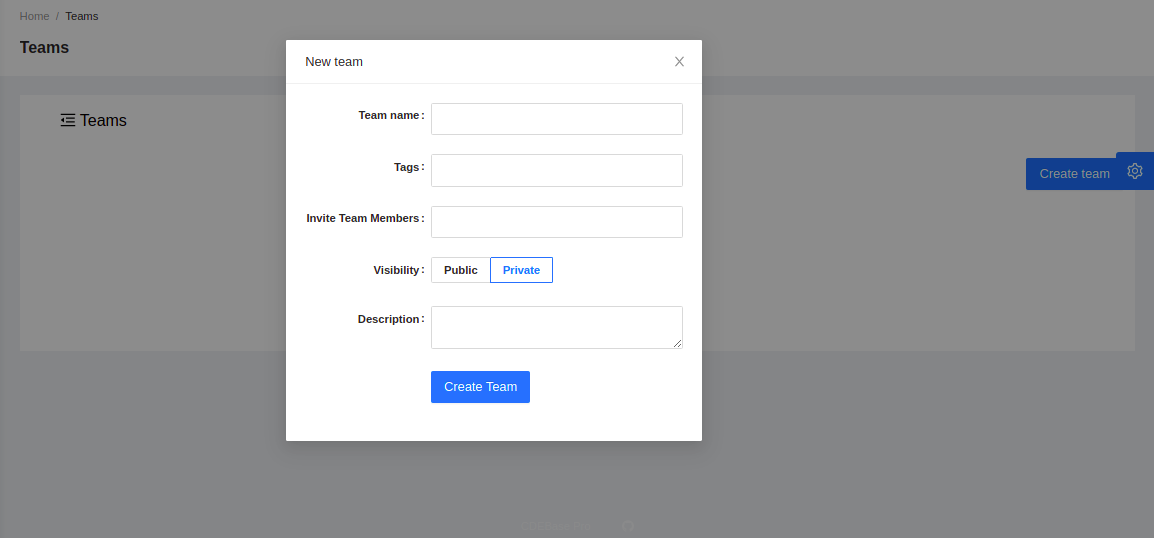
Teams section is where you invite team members, define billable rates for each person, and manage who belongs to what group.

Video demo
A brief overview of how Clockbook works, all the basic features, and how to use them.
Onboarding checklist
- Configure your profile settings (each user configures their profile settings)
- Create projects and categorize them by client/department
- Set up tasks on projects
- Configure workspace settings
- Activate timesheet
- Invite team members
- Set up groups and assign members
- Assign people/groups to projects and tasks
- Set up billable rates
- Download and install time tracking app/extension (set idle detection, Pomodoro, etc.)
- Check who works on what in Dashboard
- Filter and share frequently used reports
- Try extra features
How to track billable time
When you're charging by the hour, you need to keep track of time you spend working so you can know how much to charge your clients.
In addition to tracking billable hours, you should also track non-billable time (eg. emails, Skype calls, preparing invoices, etc.). You can't have any sense of where you are financially if you don't know how long tasks really take.
Clockbook helps you see how much billable vs non-billable activity you do and how that affects your earnings.
Workflow
Let's say you have a new client and you want to track your billable rates. Here's what your Clockbook workflow would look like.
Track time
- Start tracking time when you start working: type what you're working on, select the project, click $ to mark time as billable, and start the timer
- Stop the timer when you stop working and the time will be added to your timesheet
- When you continue working on something, press play icon next to the appropriate time entry to start the timer for that activity again.
- When you're having a meeting with the client, start the timer, type "Meeting", choose project, and mark time as non-billable. By tracking non-billable time such as this, you'll have a more realistic picture of how much time you're really spending on the client (and not just the time you bill). You can also add a "meeting" tag so you can filter time entries by tags in Reports.
How to track time with a team
In companies that do a lot of client work, everyone needs to track time. Then, managers can track how much time the company spends on each project, which is important for billing, payroll, and tracking profitability.
Clockbook can show you:
- Time each team member spends on a project
- Logged activity of each team member
- Total time invested in a project
Workflow
Here's how you can set up Clockbook so your team can track time.
Set up your workspace
- If you run a small company, one workspace is enough. But if you're a bigger company, you can use multiple workspaces to keep things from mixing up (as each workspace has its own settings, members, time entries, and everything else). You can go to Workspaces and create a new workspace for each department or company subsidiary.
- In workspace settings, upload your company logo and set up permissions. Depending on what's your company's privacy policy, you can make everything public or private. For example, you can limit project creation rights to only workspace administrators to keep things tidy or hide billable rates if that’s sensitive information.
- Define groups (eg. designers, managers) so you can assign whole teams to a project instead of adding each person one by one; so when someone arrives/leaves, you can just add/remove them from the group instead of going through each and every project.
- Define tags so people can categorize time entries with the type of activity they're doing. Then, you can run reports and filter by tag if you want to know how much time activities take.
- Add clients. If you're not in a client business, you can use this for something else (eg. some activity) to make categorization easier as all time entries are categorized by client and project, where a project can have one client but a client can have multiple projects.
Invite your team
- Invite users by going to Team section, entering emails for each team member, and adding them. Then, they'll get an email with an invitation to your workspace. But before they can accept it, they'll need to sign up and create a Clockbook account (the email with which they create an account and the email you used to invite them need to be the same). Once they have their own Clockbook account, they'll get a notification, asking them to join your workspace. Once they accept, they can switch workspaces and start tracking time.
- Set who is belongs to what team in the Team section. A person can be in multiple teams or in none. You can also set personal billable rates if you charge clients different rates, depending on who works on what (eg. a senior developer might have a higher rate than a junior).
Set up projects so people can track time
- Create a project, assign client, and add tasks (and assign people to them if needed) so people can track time against projects and tasks.
- Add team members to private project. Everyone can access public projects, but if they're private, users have to be manually assigned. You can add individual members one by one, or in bulk via groups.
- Now that all is set up, your team can start tracking time. They can start a timer or add time manually at the end of the day. To each time entry, they should add a project/task, billability status, and describe what they're working on in one short sentence. They can also add tags if you have some specific workflow for organizing data (e.g. use tags to describe type of activity).
Use reports
- To invoice your clients at the end of the month: go to Summary report, filter out by client and billability, select “This Month” for the time period, group time entries by project and subgroup by task (or time entry), and export the results. Or, if your client wants to check how much time you've worked at any point, share the report and send the link to your client so they can generate reports on-the-fly.
- You and your team can use the Detailed report to see time entries that miss data, eg. entries that are missing description or a project, and fill the missing data. This will make your reports much more accurate. You can filter entries (just like in Summary report), the only difference is that you can directly edit time entries in the Detailed report (while in Summary report you can just view and group them).
How to track project profitability
If you charge a flat rate for a project, you still need to track time so you can see how accurate your estimates are and whether the project is profitable. By knowing the real length of the project, you'll know if you're charging enough or if you're losing money.
For example, you might tell a client you need 50 hours for a project, 20 for design and 30 for coding. So you arrange a fixed price, thinking you'll finish it in under 50 hours. But how much time will you really need? The bigger the project, the greater the error will be.
But if you track time, you'll know exactly how much time each activity takes and whether you made money on a project. Let’s say you finish the project in 70 hours, which is 20 hours more than estimated. You can negotiate with the client for a higher price or less work. But even if you charge as if you had worked 50 hours, at least you’ll estimate better in the future and won't lose money.
Workflow
Let's say you start a new fixed-fee project. Here's an example of what your Clockbook workflow could look like.
Before the project starts
- To have time entries categorized, first define the client's name in your workspace Settings > Clients. You can also define tags with the type of activities (eg. "project management") so you can filter time entries by tags and track how much time each activity takes.
- Create a new project and select the client.
- Add tasks to the project (eg. Design, Development)
- Use task-based estimate (eg. Design task: 20h, Development task: 30h) or enter a manual estimate (eg. 50h for the whole project)
- Set up billable rates, as well as labor cost rates
After the project starts
- When you track time, make sure each time entry has a project and a task.
- When you hit some milestone (eg. finished design), check project status for estimated vs tracked time. If you're way over your original estimate, you might want to talk to the client about adjusting the budget, requirements, and timeline.
- Once the project ends, go to Summary report and filter entries by the project. Then, export the report in CSV and import it to Excel where you can: better analyze data, see what activities took longer than planned, analyze why, and set better estimates (and prices) in the future.
- In reports, view either amounts for billing, cost, or profit (the difference between the two)
How to track team productivity
The bigger your company is, the harder it gets to keep track of everything. With Clockbook, you can track where each team and person spend their time, analyze data, and come up with improvements.
For example, you might notice that some internal project took 100 hours, which is way more than you estimated. Once you know that, you can ask the team why that is, reevaluate priorities, and come up with a better plan. You might decide to put more people on a project or cut some activities so you finish on time and within budget.
Workflow
Here's how you can track and manage your team's productivity in Clockbook.
- Set up workspace, tags, groups, and projects, and then invite team members so they can start tracking time.
- As your team works, check the Team Dashboard to see who tracked the most time and which projects are the most active.
- Run a Summary report at the end of each month, quarter, and year to analyze where you spend time. You can analyze internal processes, see what type of work takes most of the time, and think about what you can do to optimize company productivity.
- Run a Detailed report and filter entries that are missing a project or a tag so you can directly edit them to make reports more accurate.
- Go to the Weekly report at the end of each week and group time entries by user to see if everyone filled their 40 hours/week quota.
- Save a report with filters you frequently run by using the share report option, so you don't have to set filters each time you need a specific report.
- Export a report in CSV and import the CSV into a spreadsheet so you can apply conditional formatting to better analyze data.
- You can share a report with your payroll staff so they don't have to chase each person for data - they can just visit the link, see who tracked how much time, and cut the paycheck.
- Define billable rates in Teams section so Clockbook can calculate how much each employee costs you (based on the billable rate you defined). Once you see how much each person costs, you can compare the cost to how much value you get and see if you can use their skills better on a different project.
- Once a project is about to end, you can evaluate how much time you've spent in project status, multiply the time by each employee cost, and compare the number to how much profit you actually made.